

The Ruins
Level Description
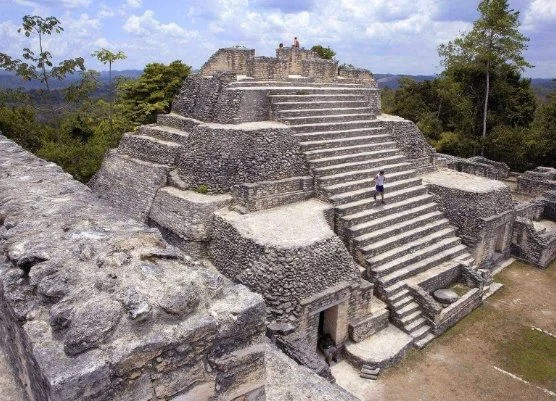
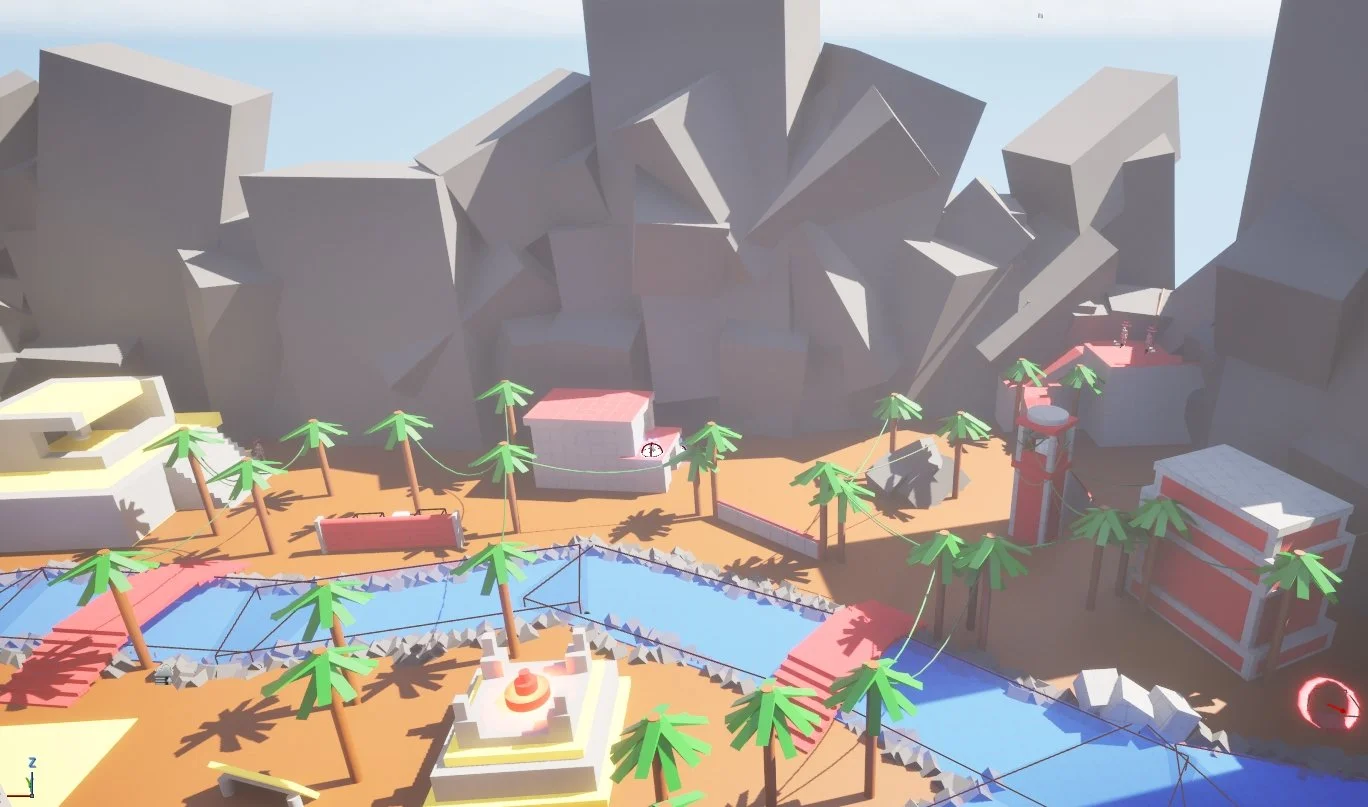
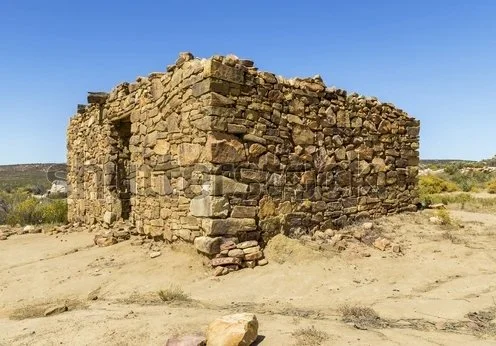
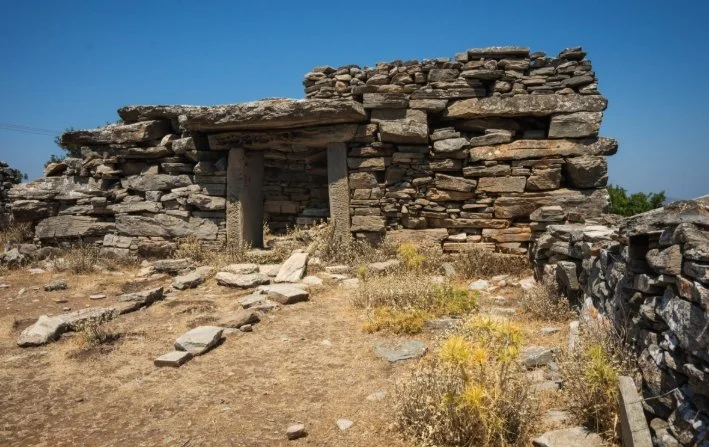
As a team deathmatch, the level centers on the clash between superior equipment and superior positioning, driving constant ambushes, pushes, and counterattacks. The Red team enters the ancient ruins as well-equipped invaders, bringing advanced gear to launch their assault. The Blue team’s weapons are inferior, but the ruins provide them with dense cover and advantageous terrain.
Level Purpose
The purpose of this level is to create a balance between fast-paced team deathmatch combat and tactical positioning. Players should experience a clear contrast between the Red team’s superior firepower and the Blue team’s advantage in terrain and cover. The level is designed so that attackers rely on raw weapon strength while defenders depend on maneuvering, positioning, and attrition. Overall, the goal is to achieve meaningful tension between attacking power and defensive prowess.
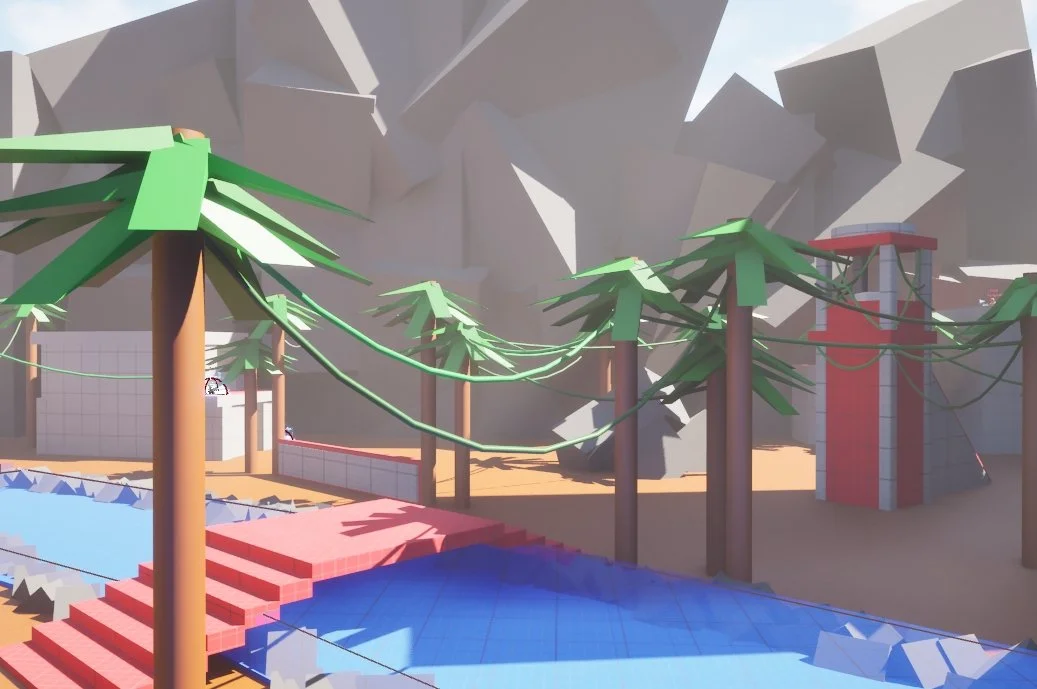
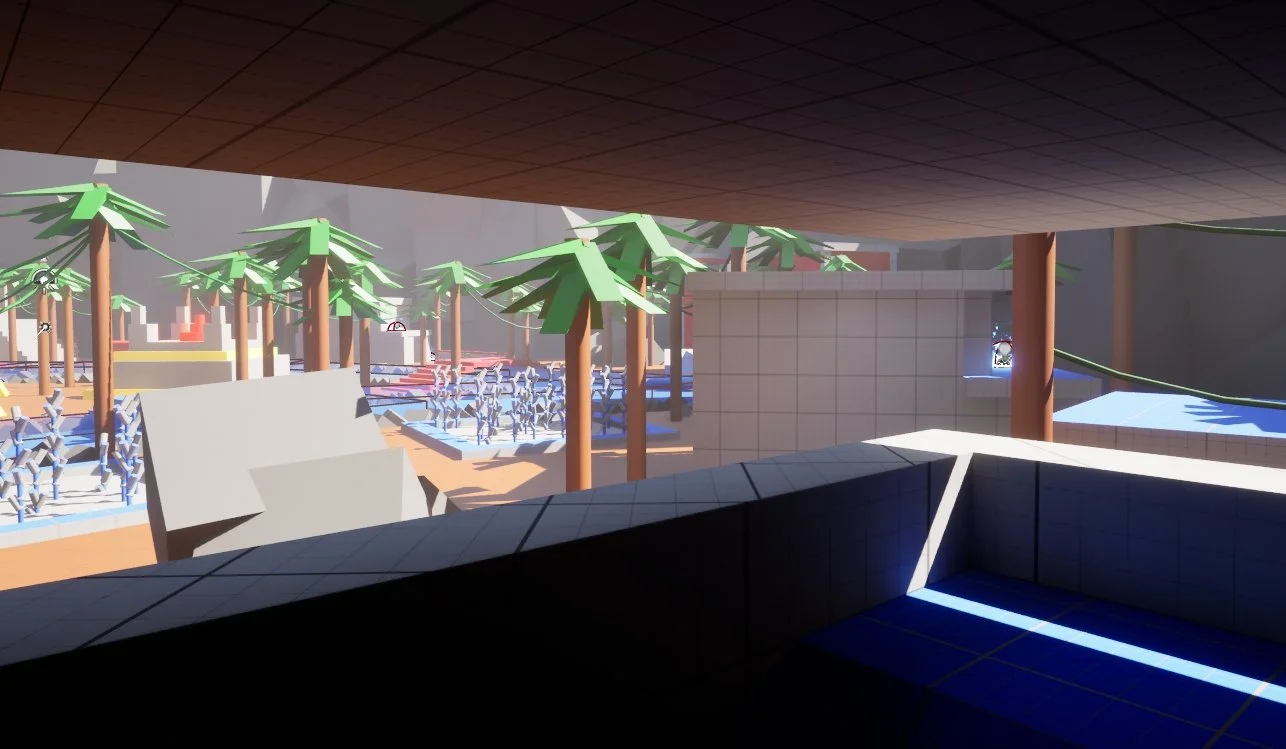
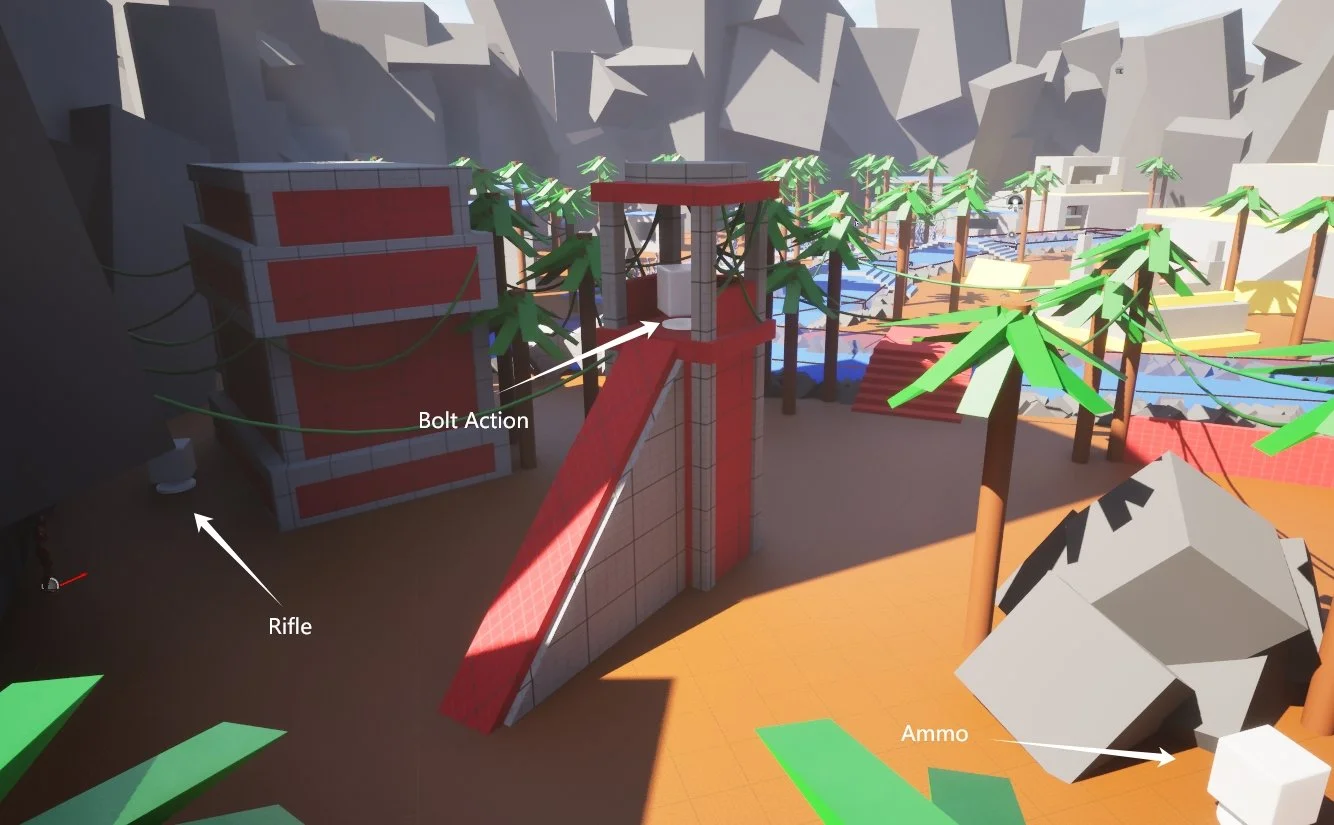
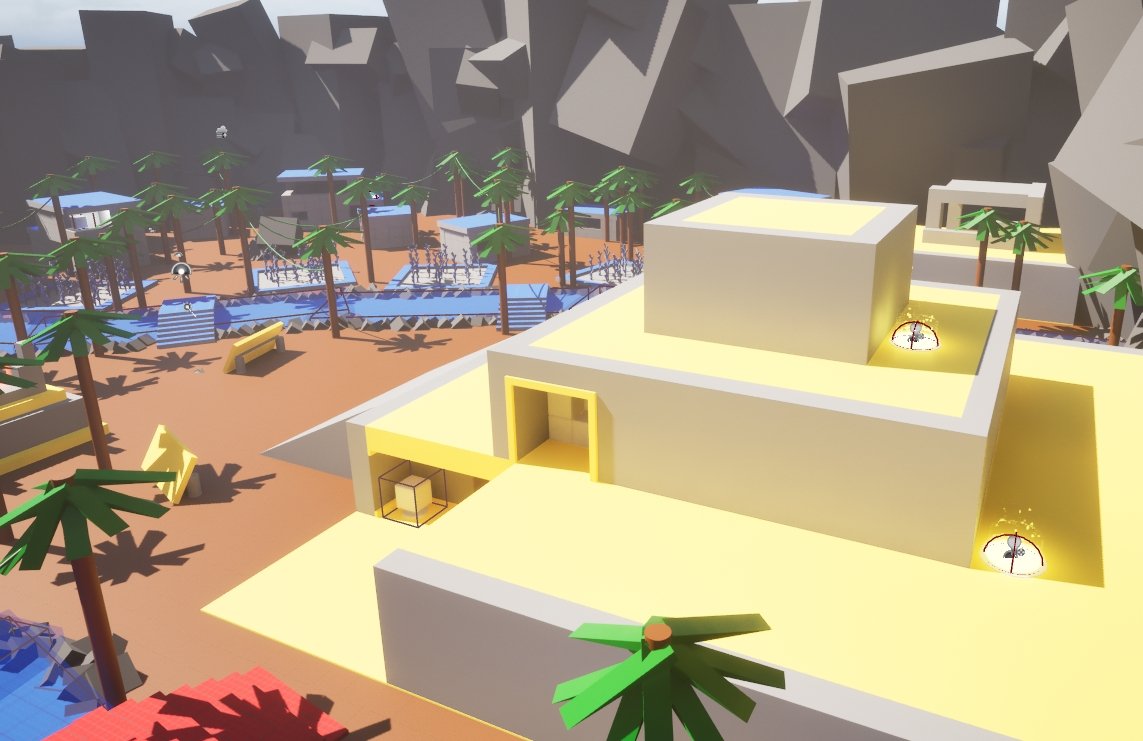
Whitebox Image Area 1


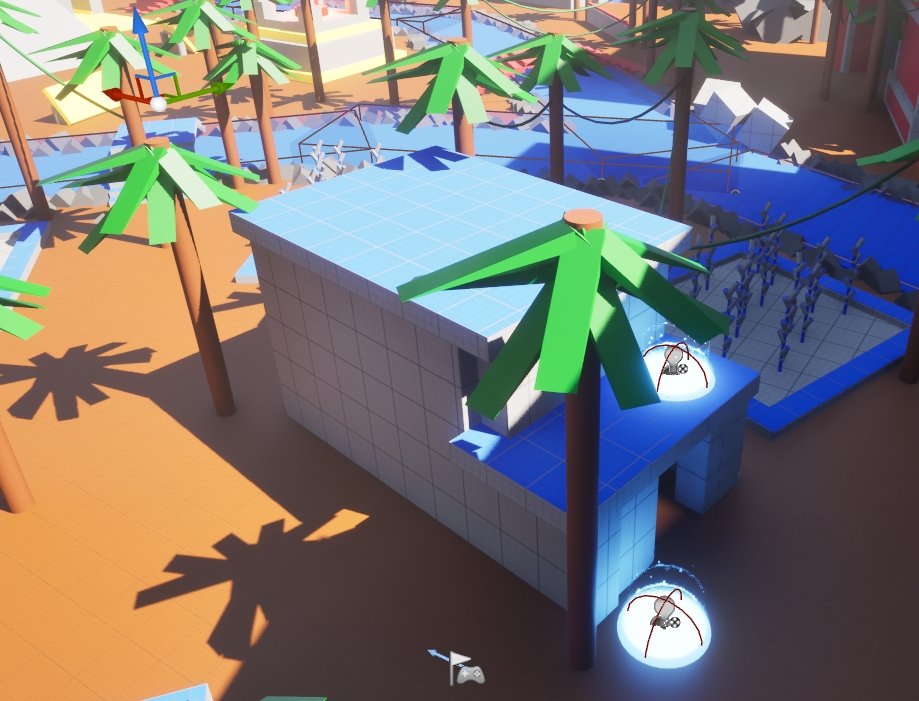
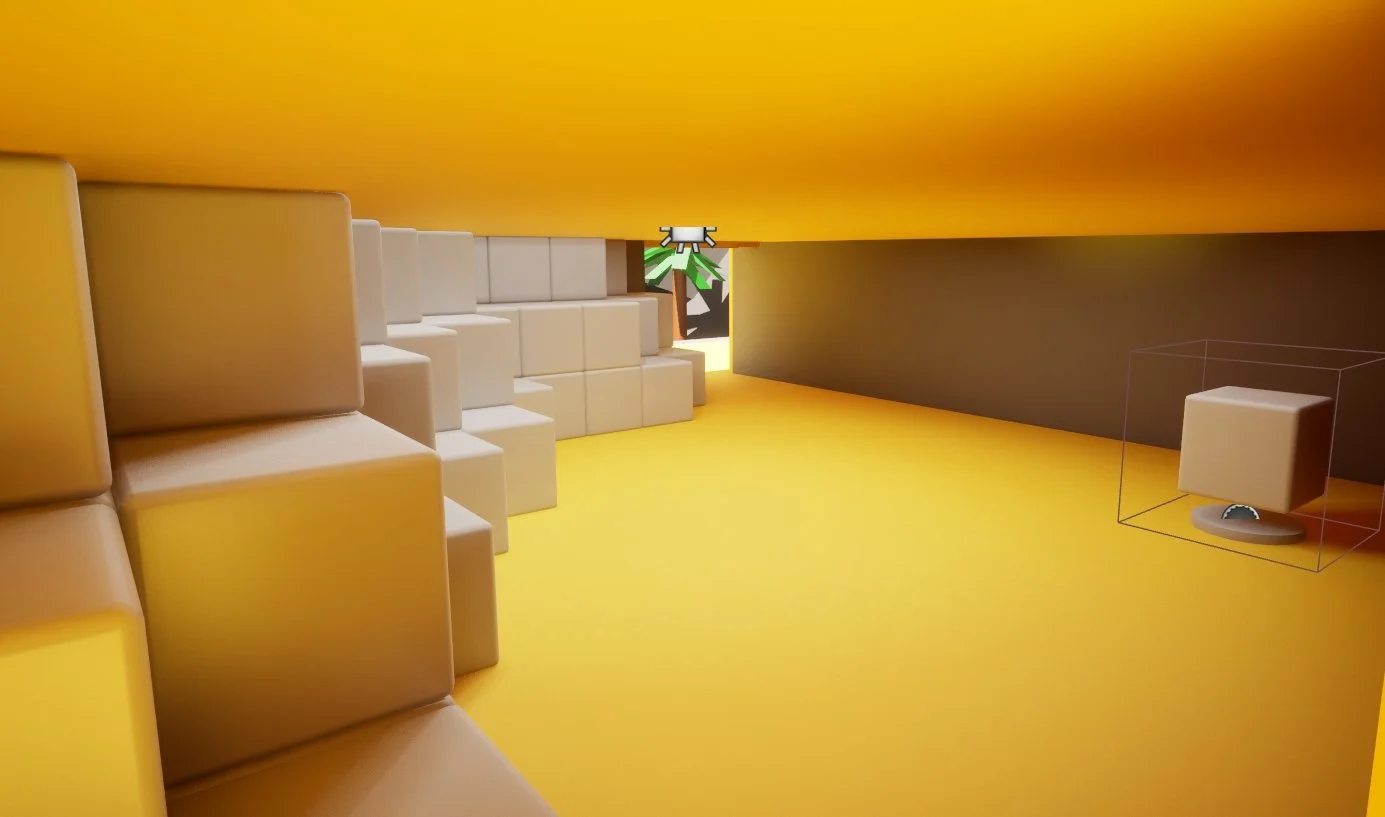
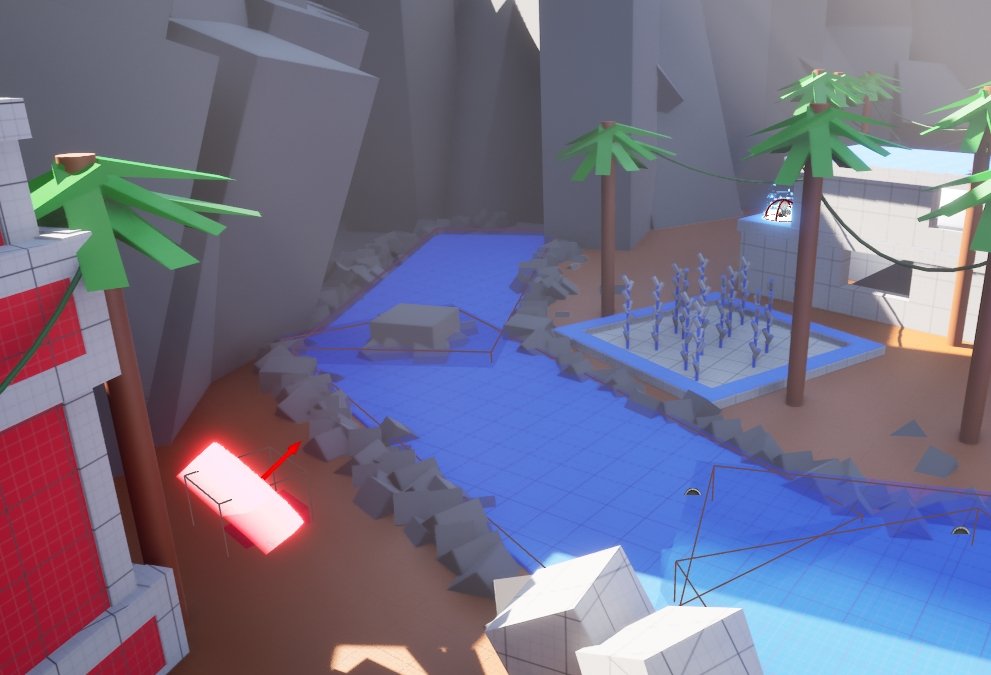
Whitebox Image Area 3

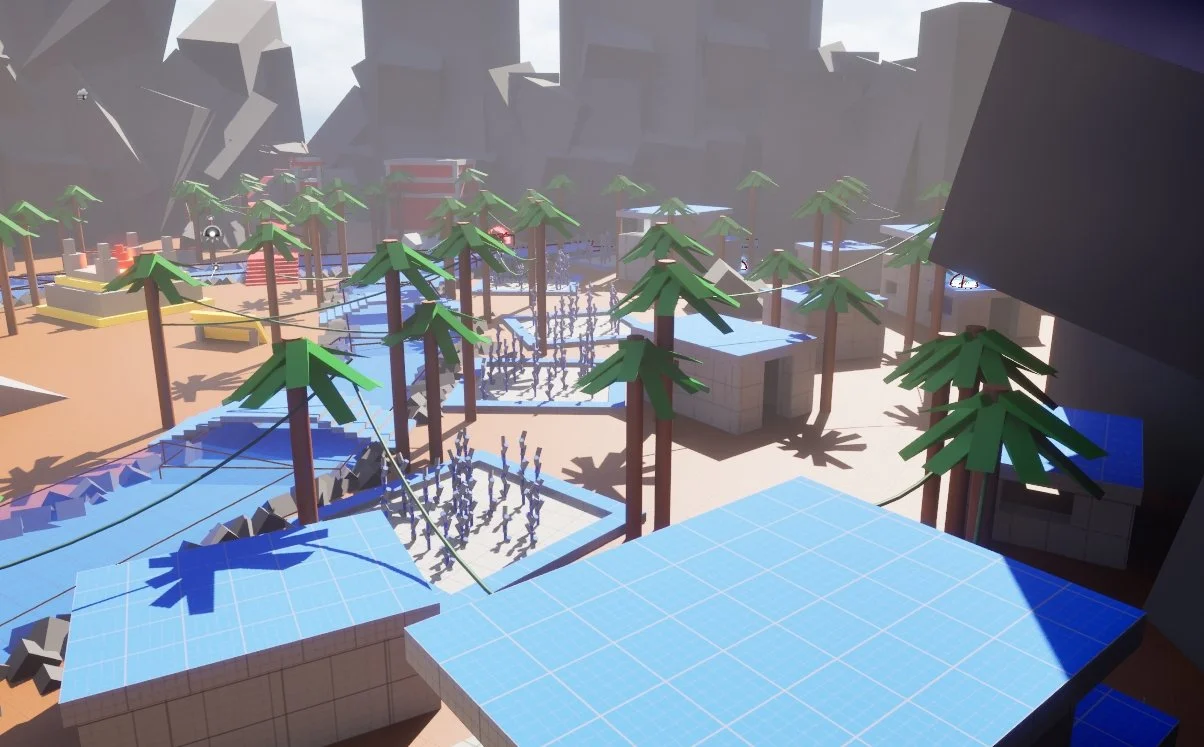


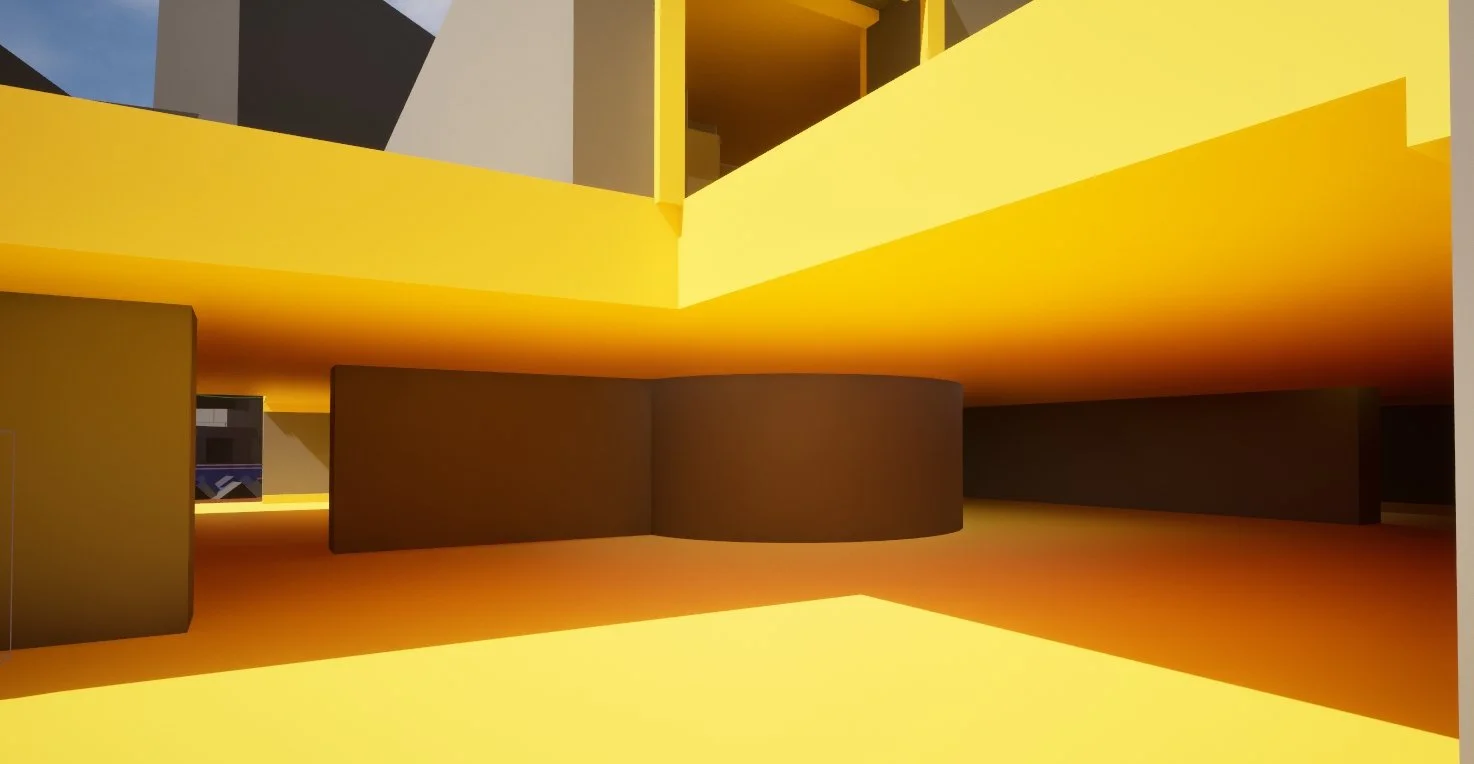
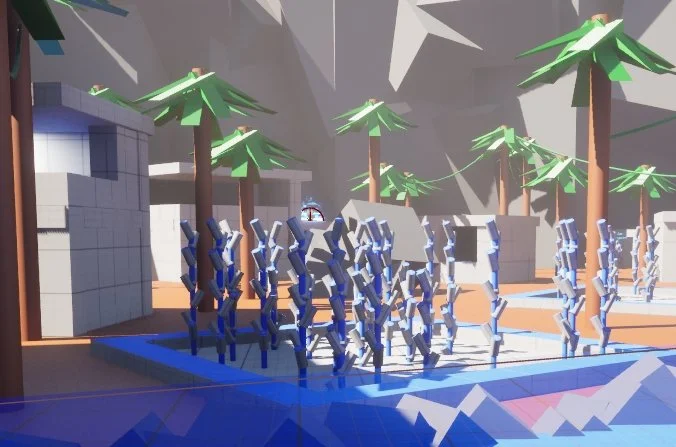
Whitebox Image Area 2

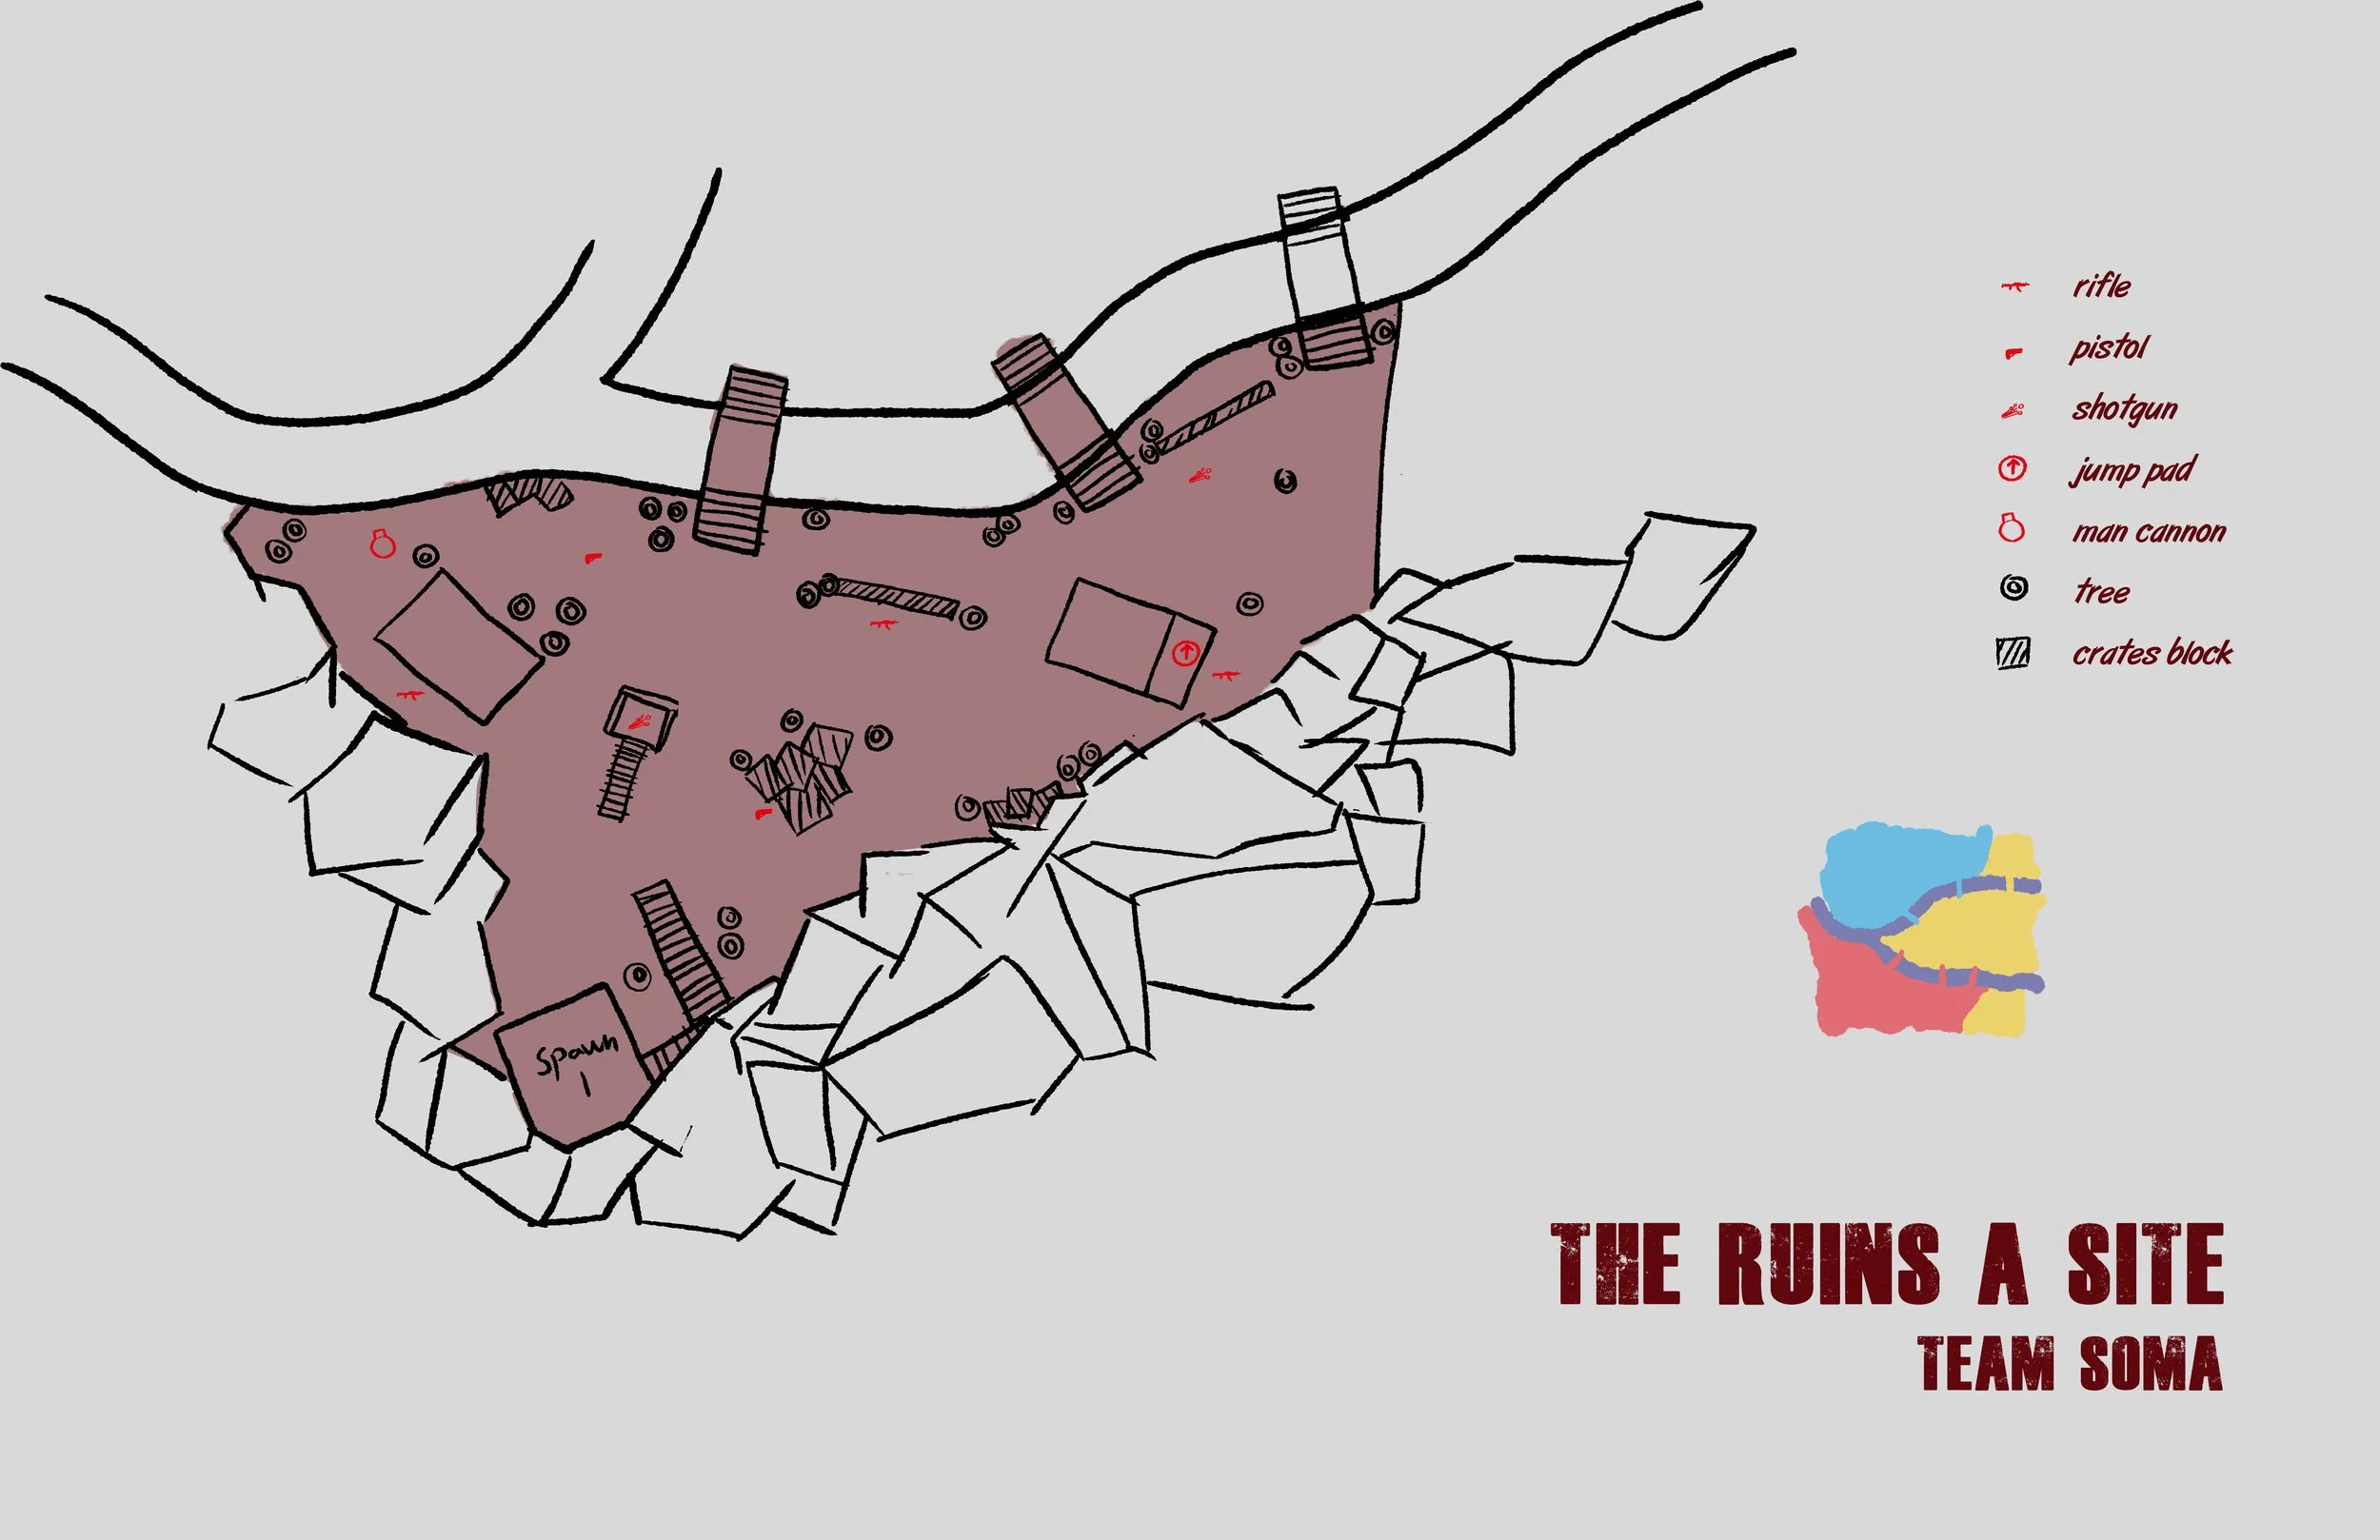
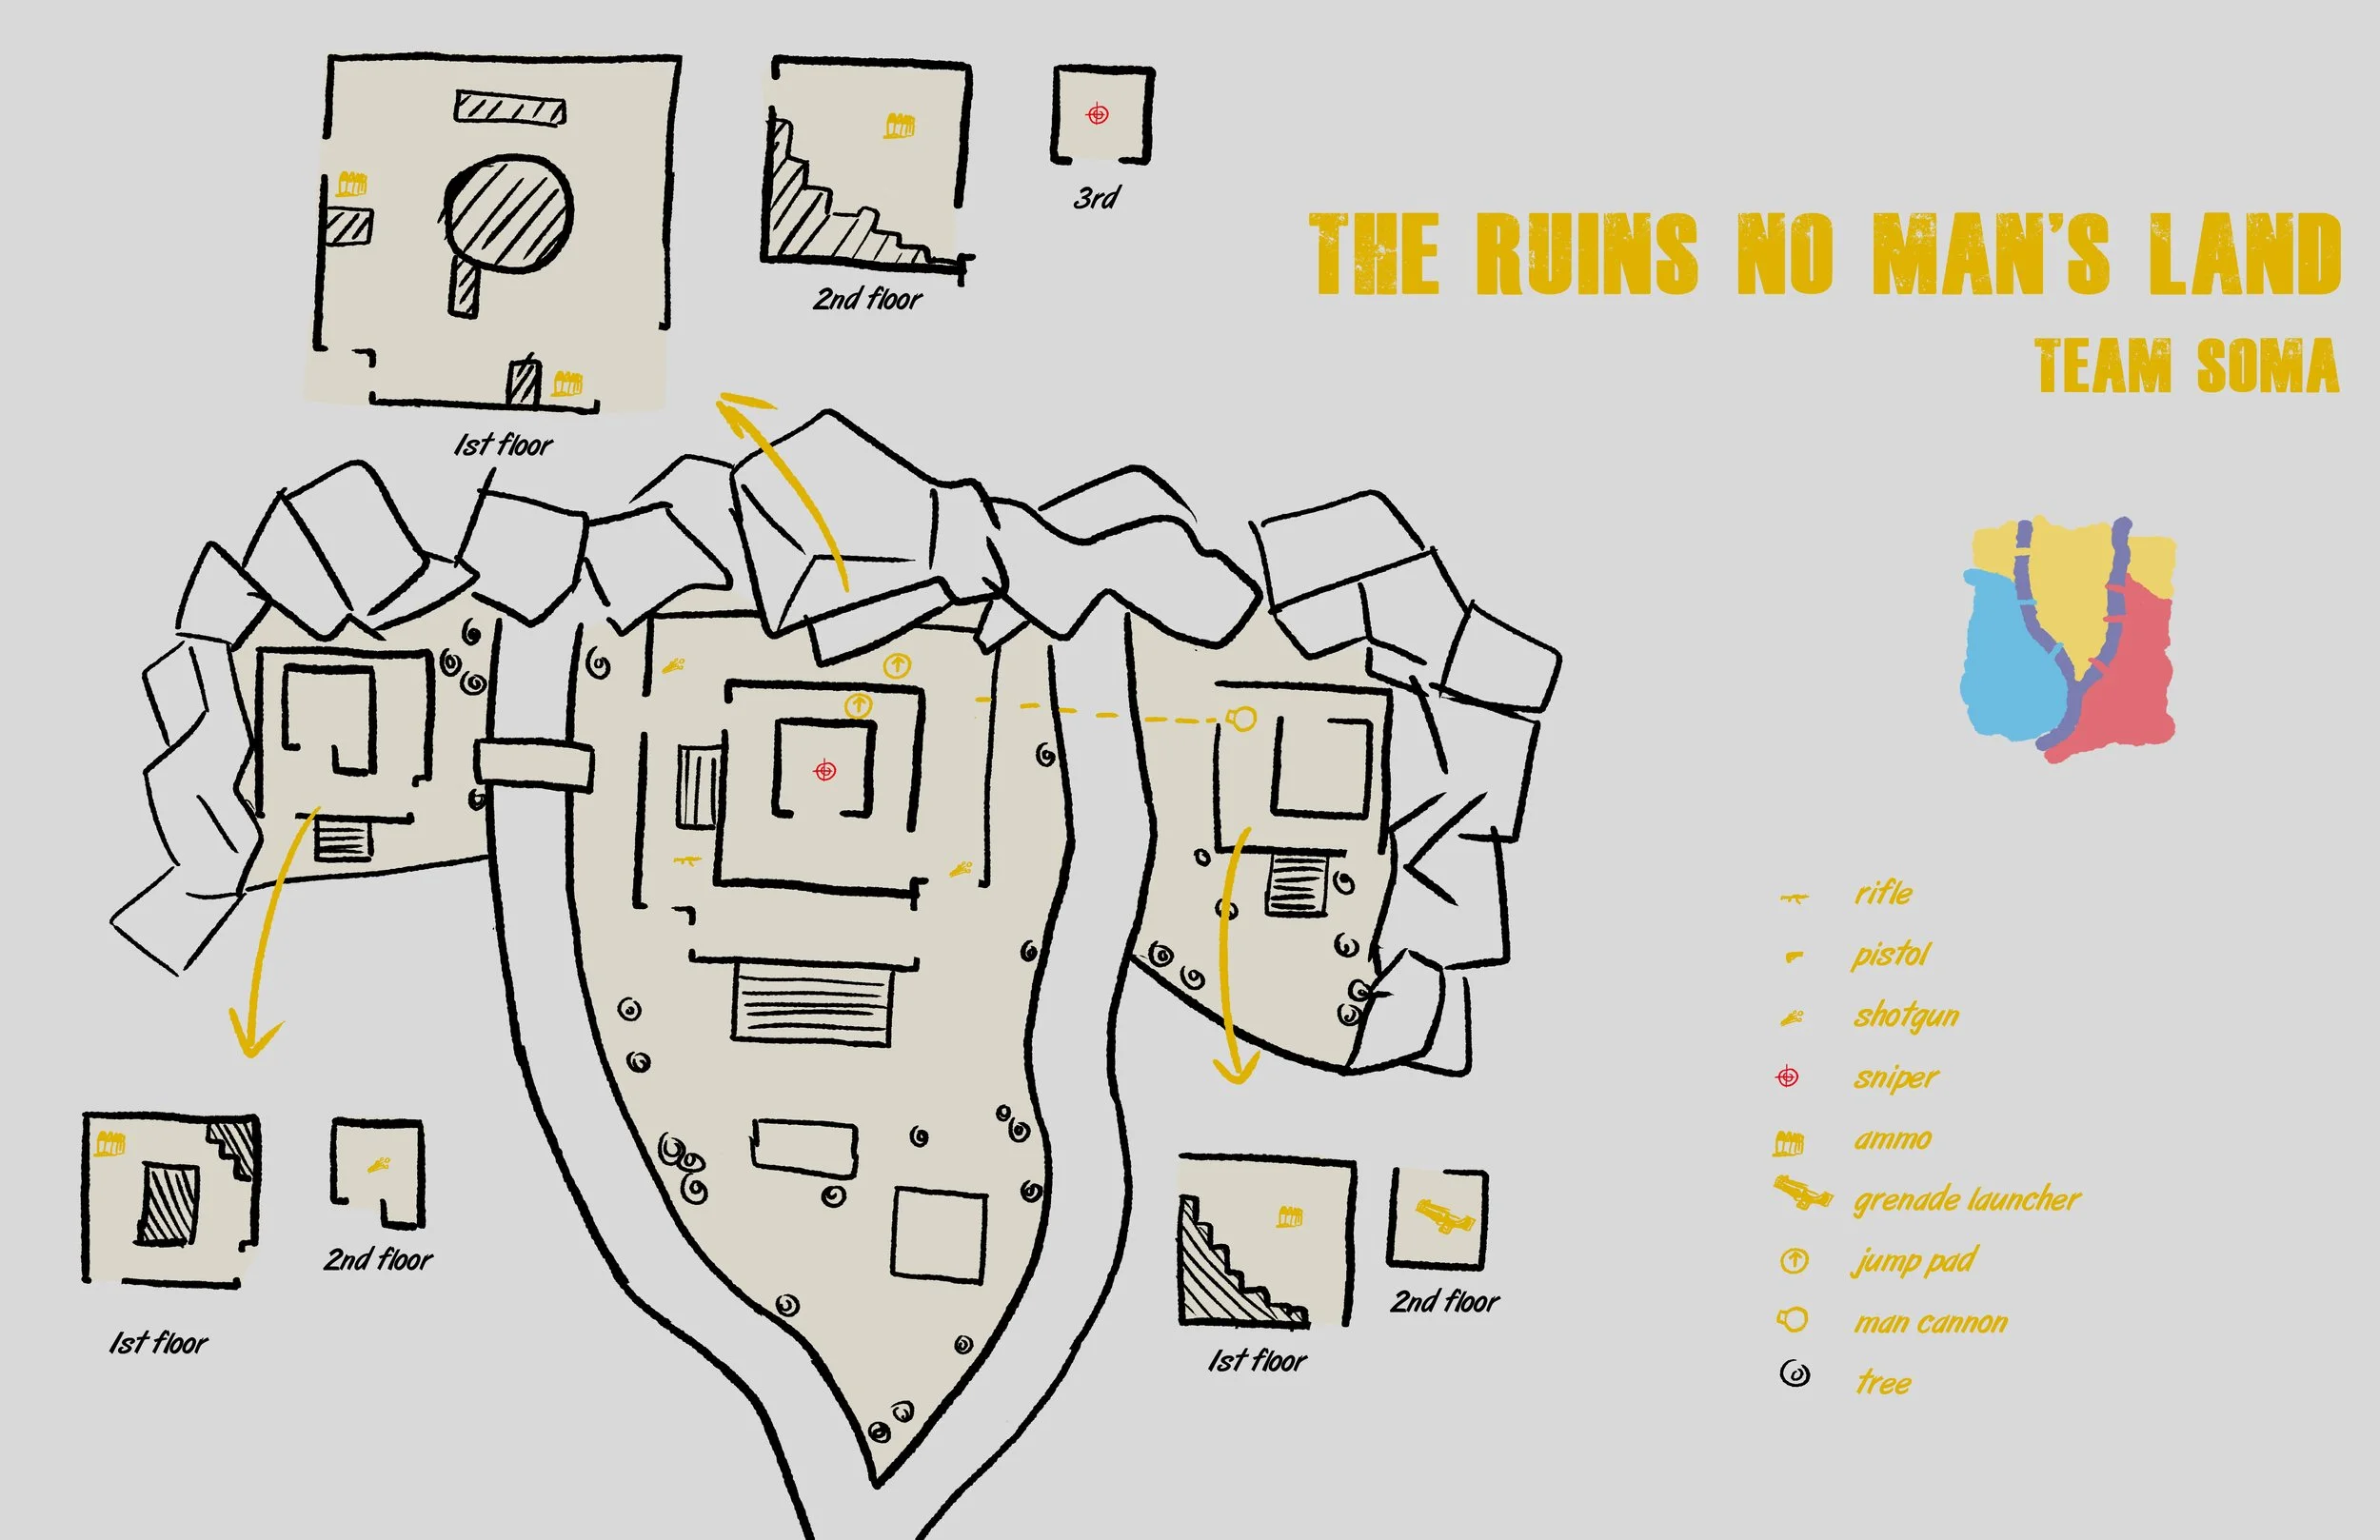
Level Map Design/ Preproduction
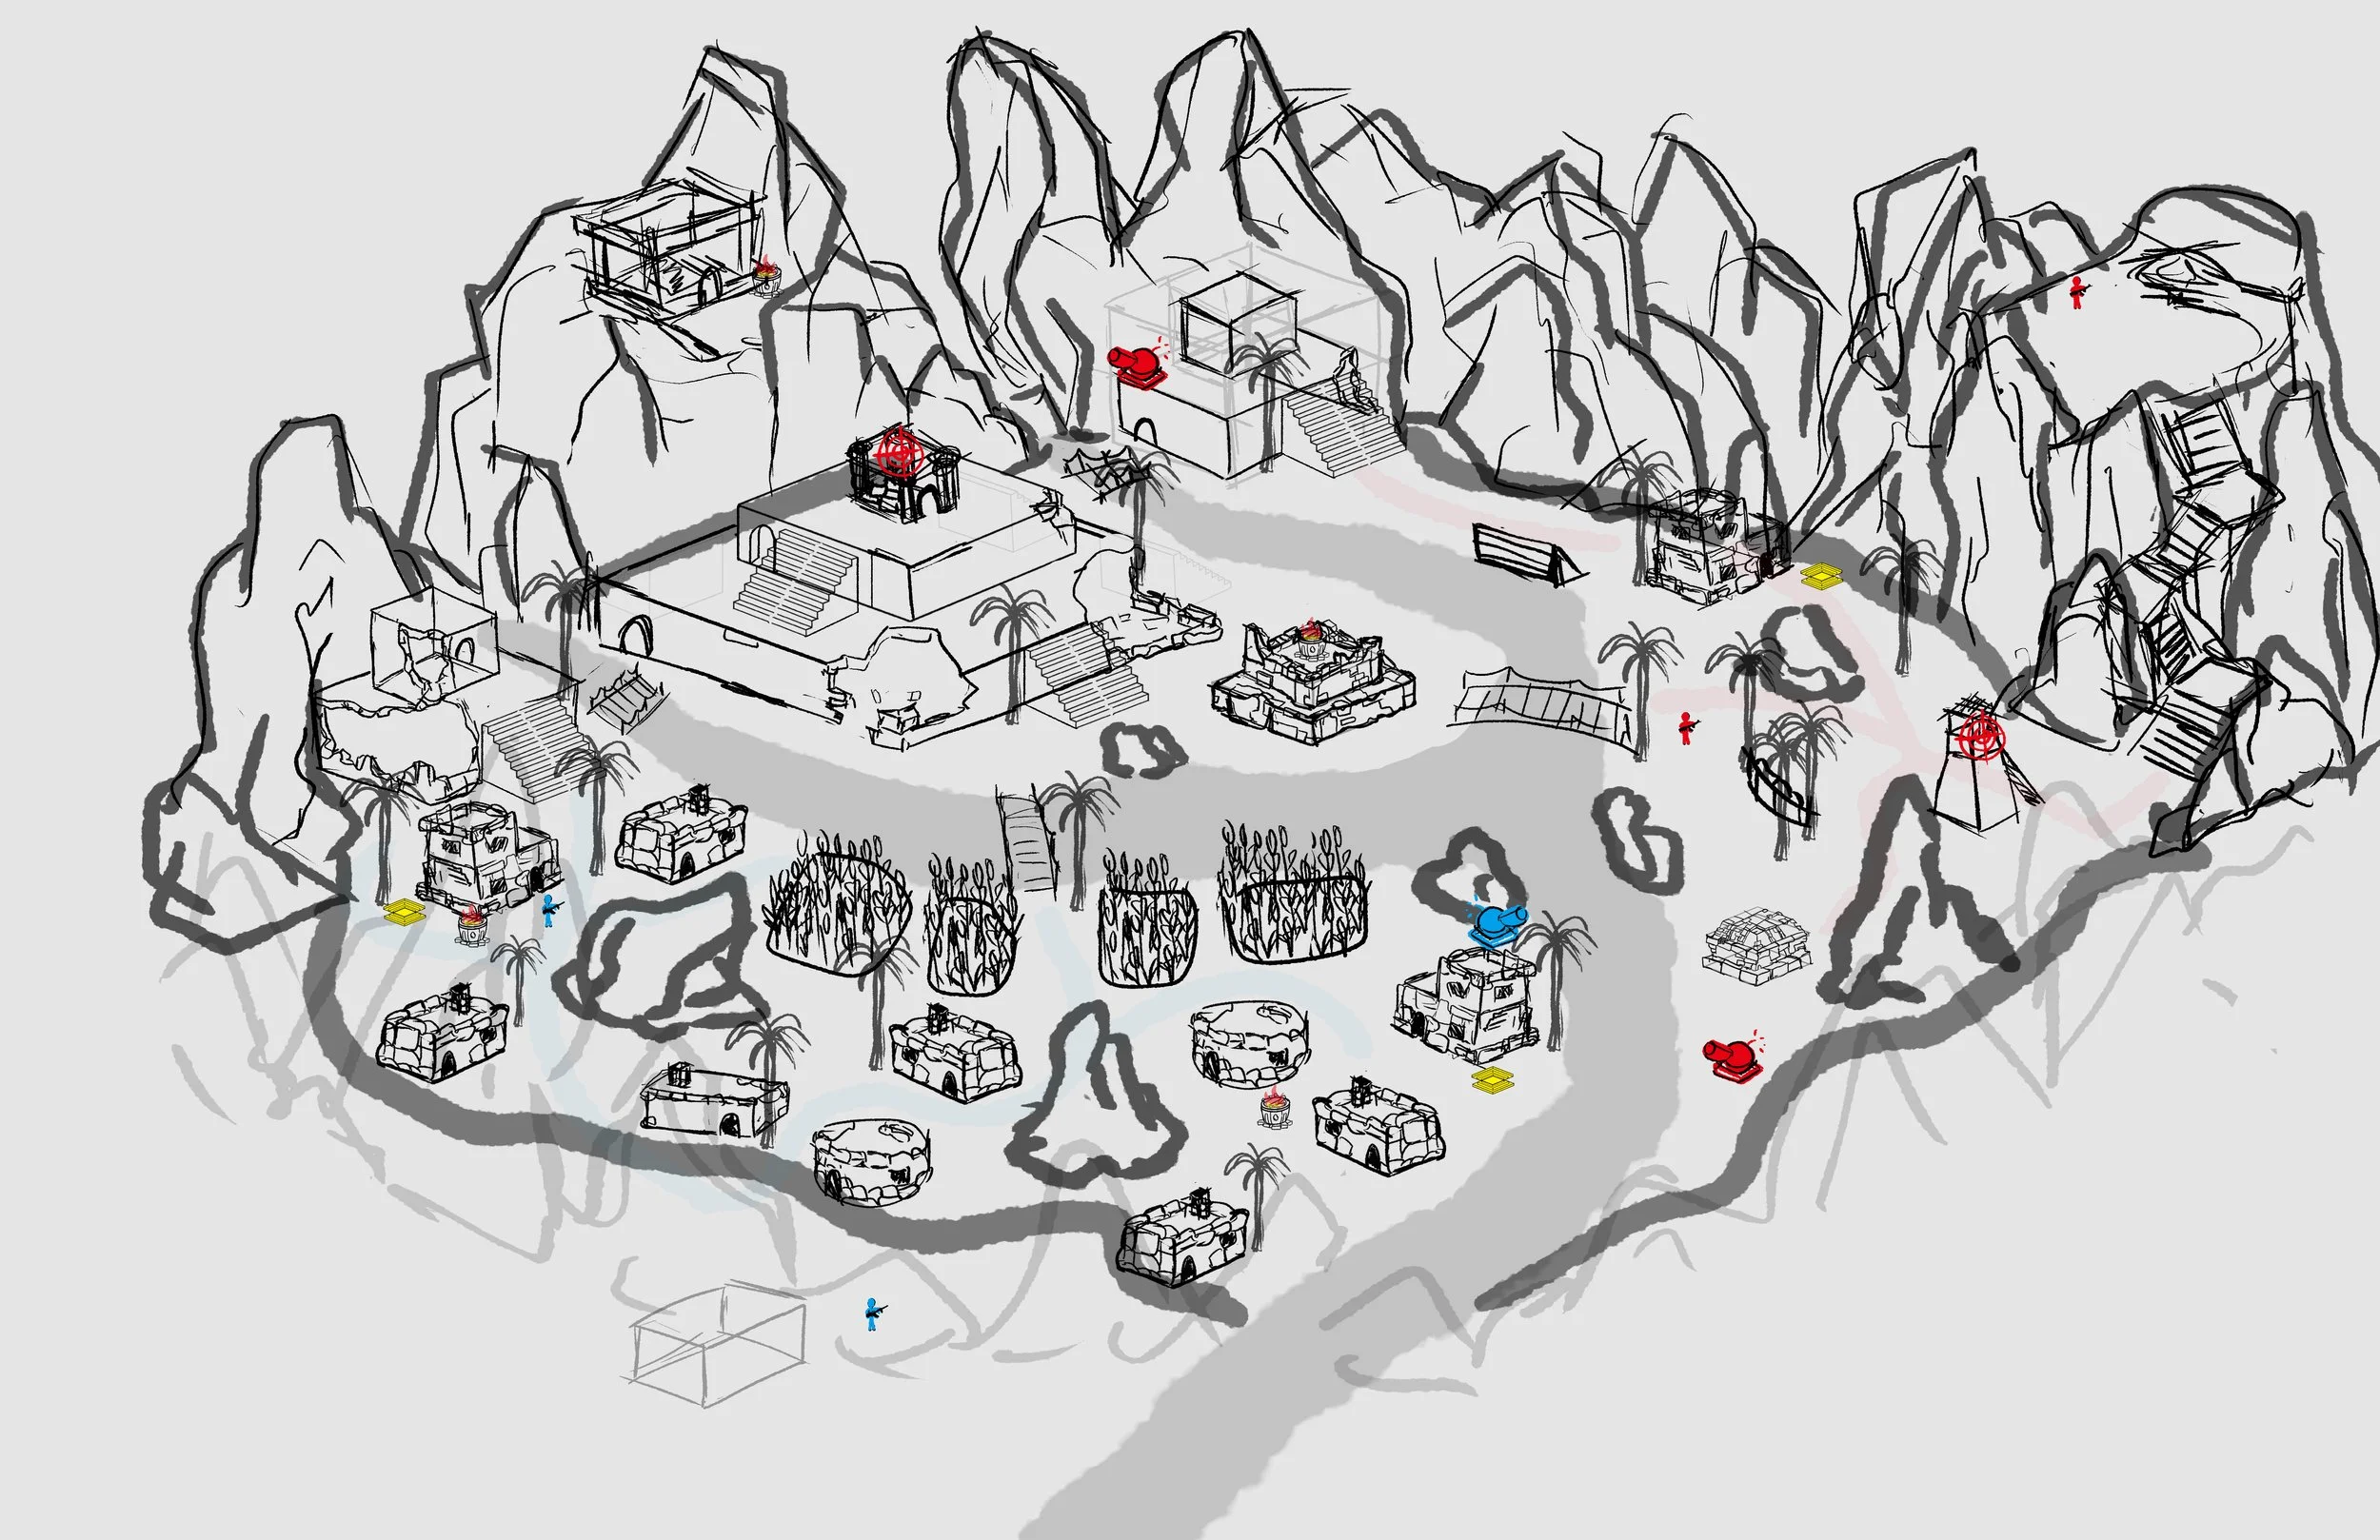
Level Flow/Game Play Beats
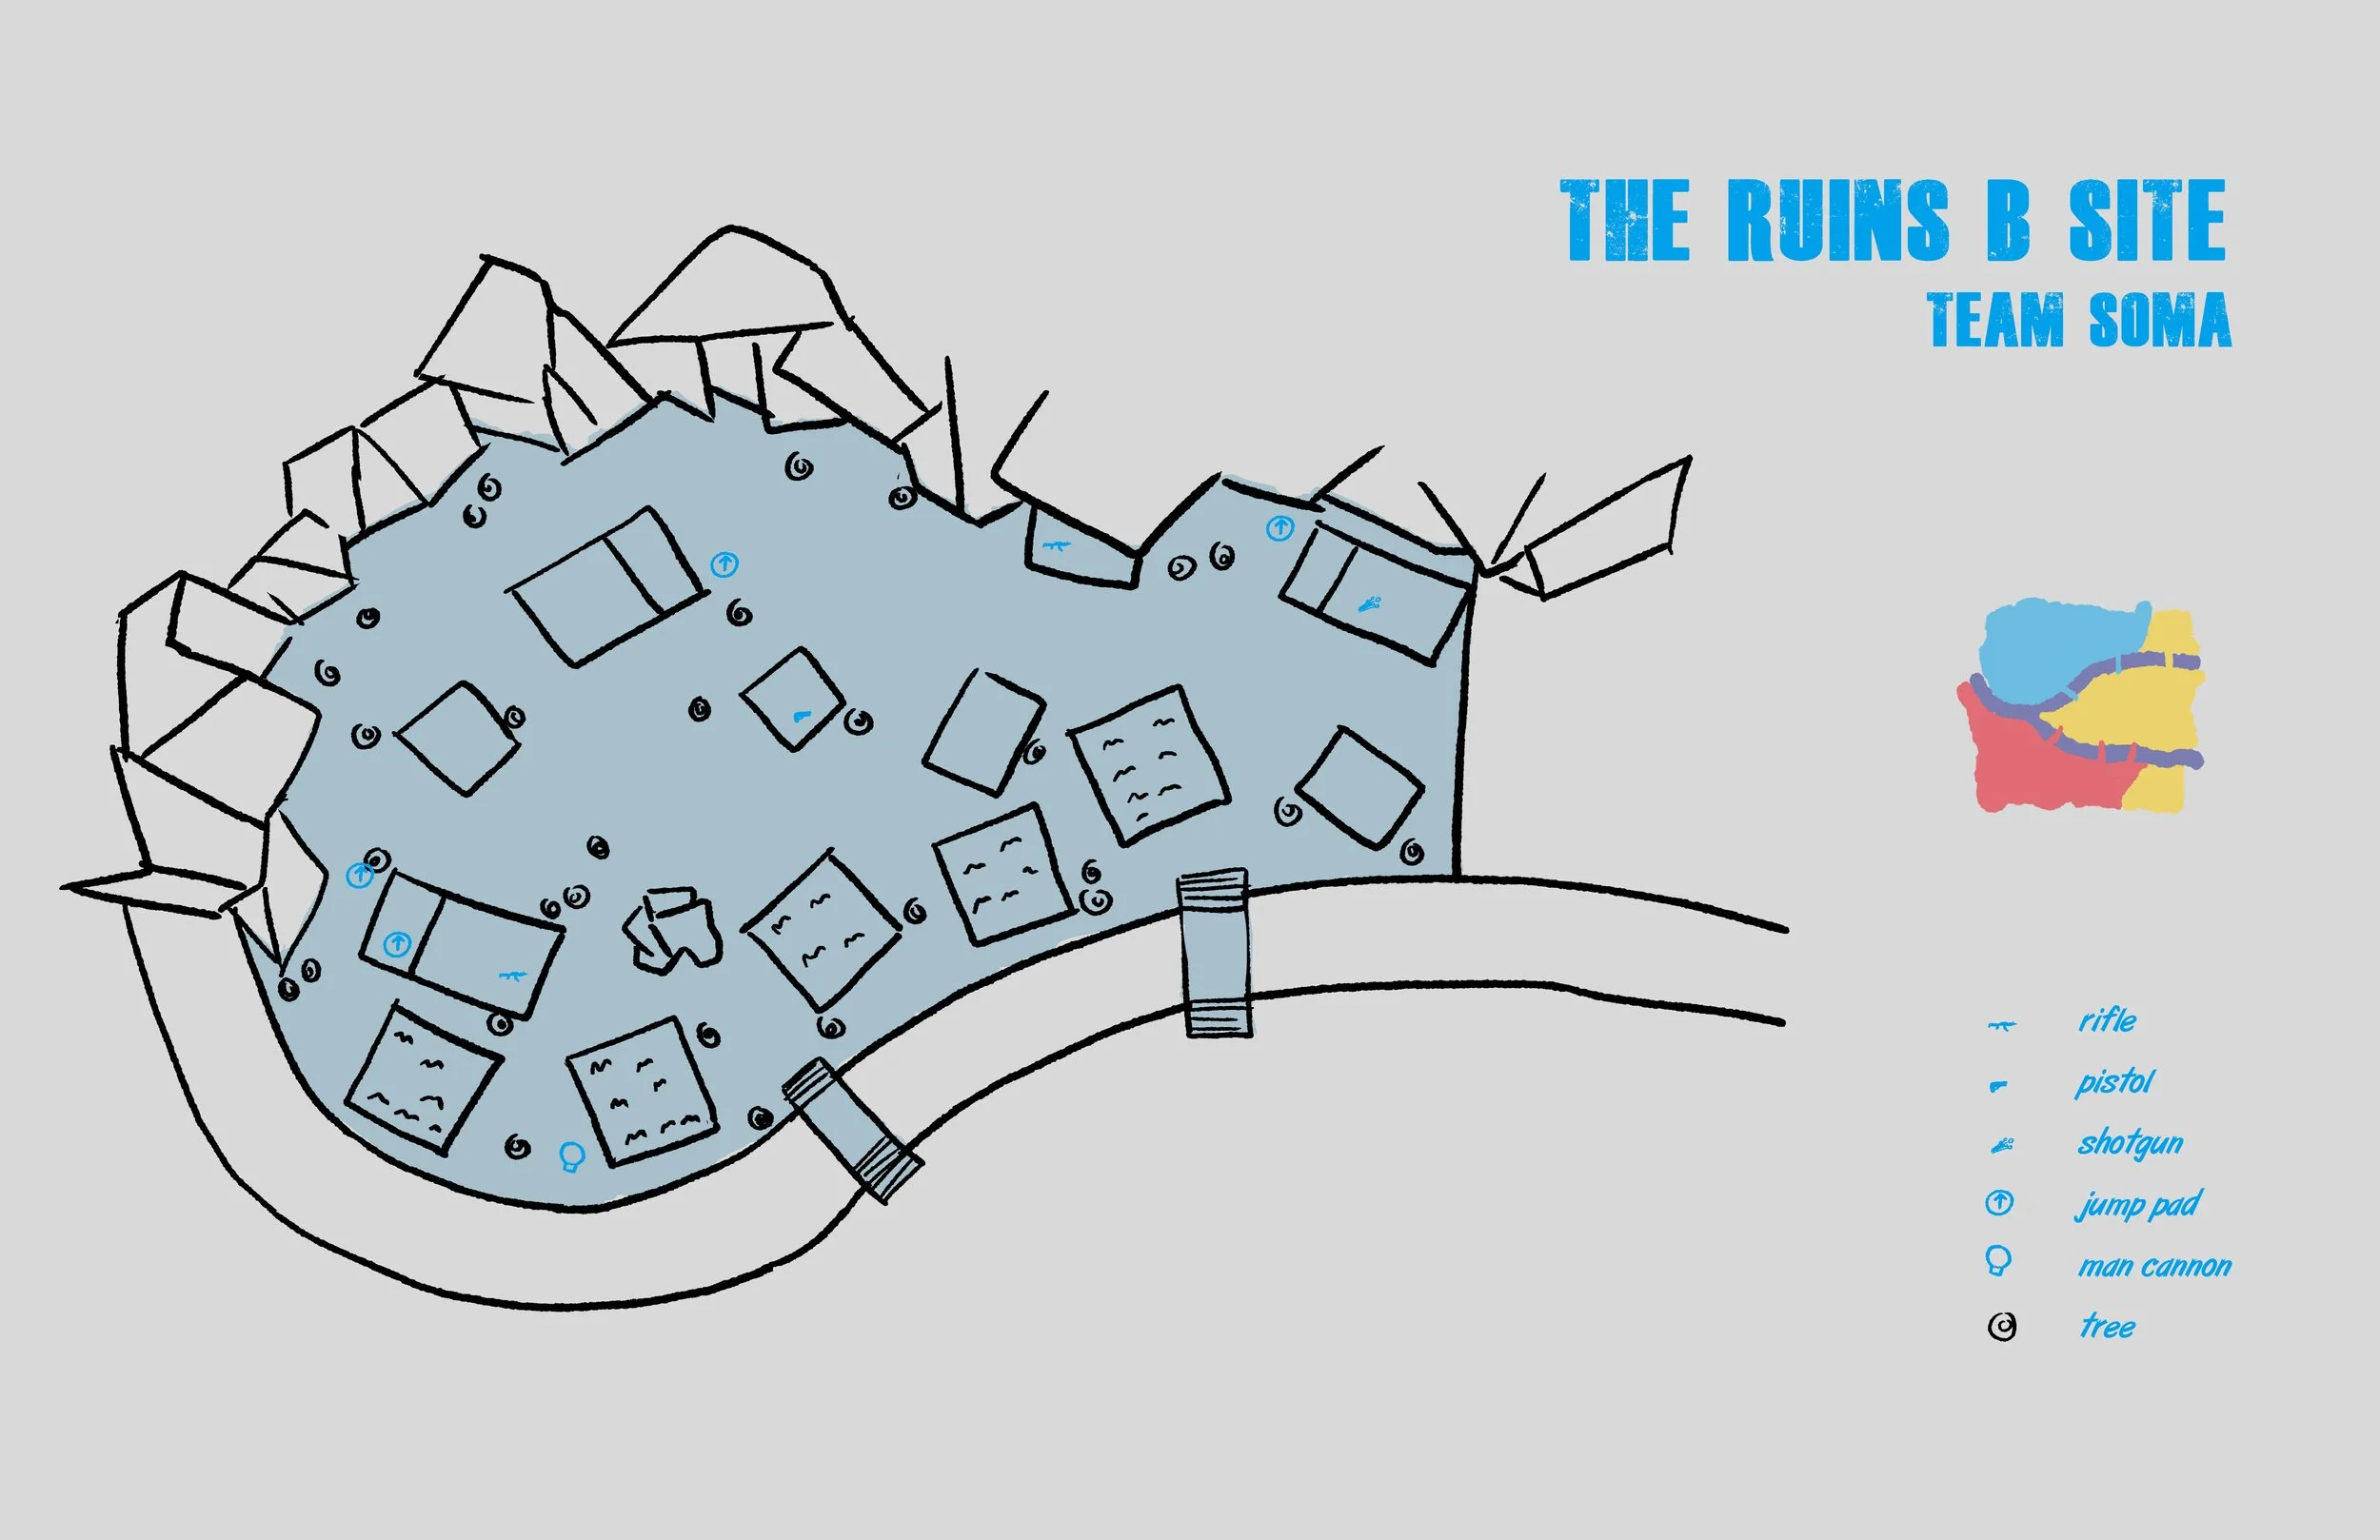
Weapon Advantage (Area 1) – The Red team spawns right beside a sniper tower, giving them an immediate long-range vantage point. They also have access to a wide arsenal, including high-powered rifles and a grenade launcher for aggressive openings.
Man Cannon (Area 1) – The Man Cannon allows players to rapidly launch across the river and seize Areas 2 and 3 before the enemy can fully establish control.
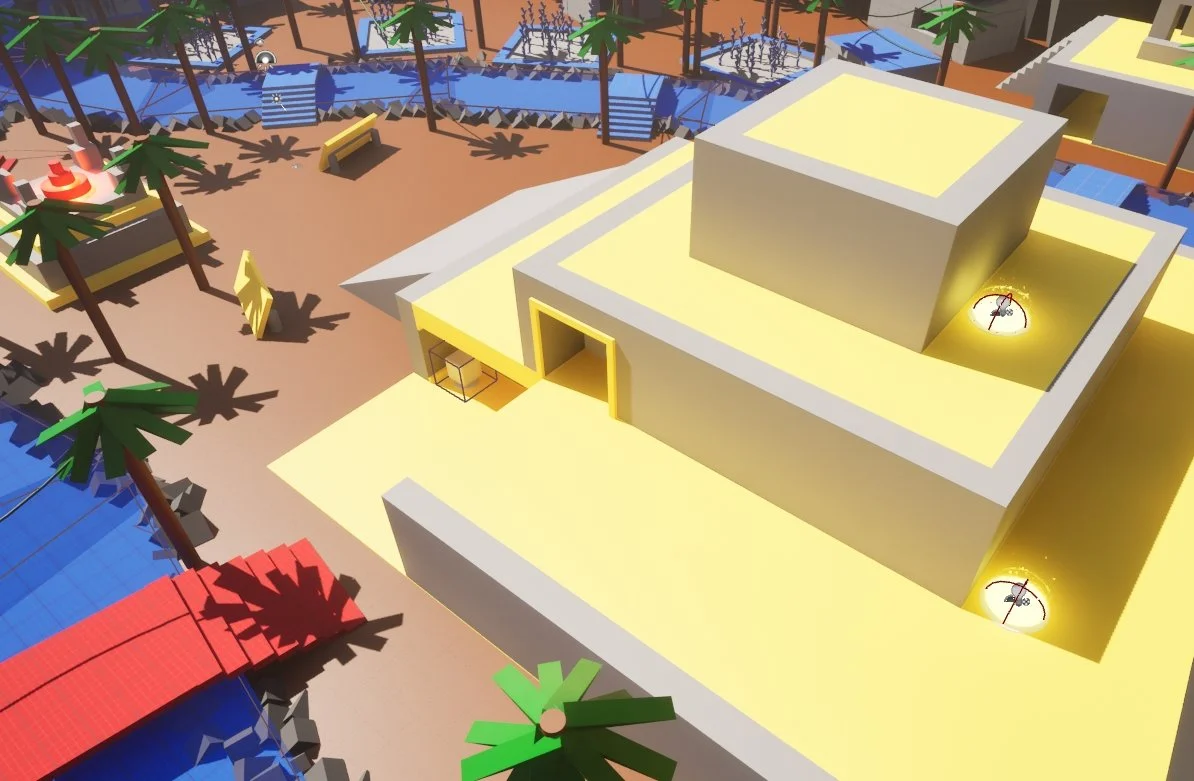
Sniper Rifle & Ammo pickup (Area 2) – Area 2 becomes a major hotspot as both teams rush to claim the powerful sniper rifle. The interior layout forces players into close-quarters skirmishes while fighting for control of the weapon. Ammo pickups inside the structure let whoever holds the area maintain pressure and extend control.
Elevation Advantage (Area 2) – Area 2 also contains the highest platform in the level, giving whoever controls it a commanding vantage point. Because this platform sits at the center of the map, players can survey nearly the entire battlefield from above.
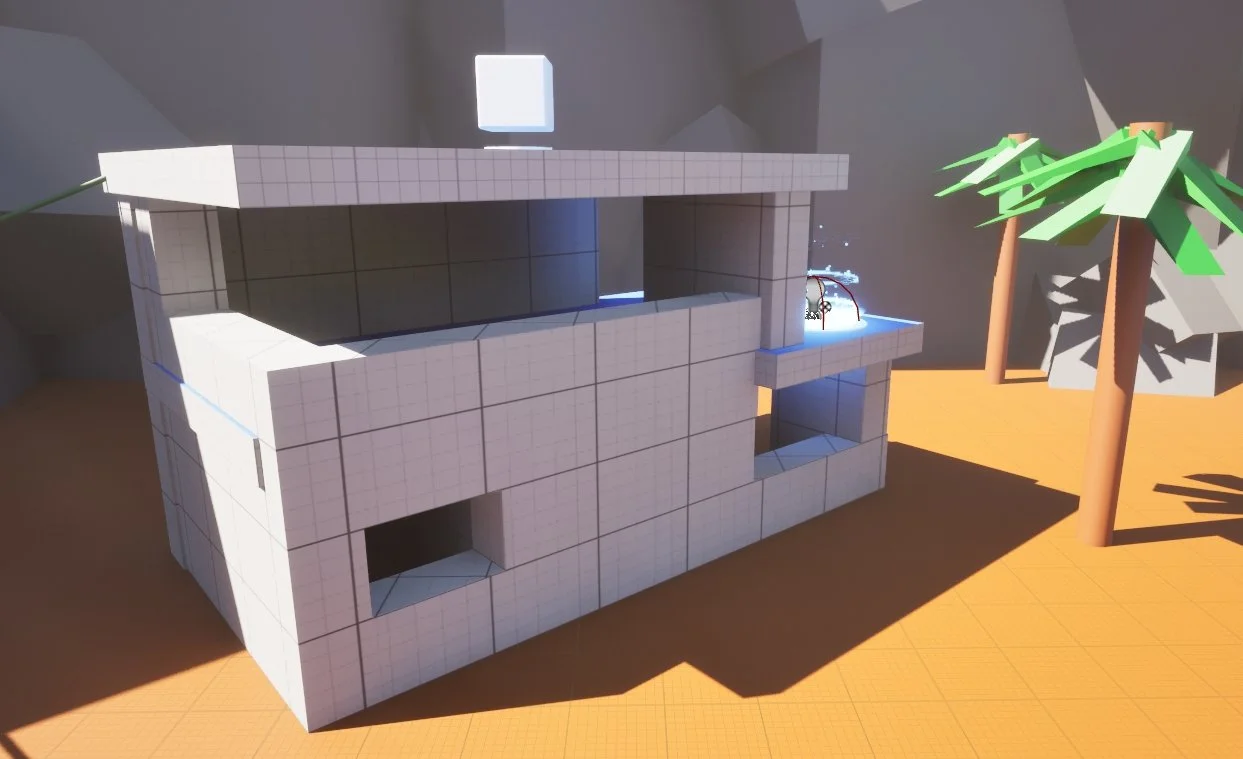
Plantation & Buildings (Area 3) – Area 3 features dense vegetation that Blue players can use for natural camouflage. The terrain allows defenders to blend in and ambush enemies approaching from open sight lines. Multiple defensive structures in the area further reinforce Blue’s ability to hold ground effectively.
Jump Pad (Area3) - In Area 3, players can use a jump pad to reach the nearby rooftops, gaining elevated angles for ambushes. From the rooftops, they can leap onto the trees, creating hidden vantage points that are hard to detect.


Post Mortem
What Went Well:
We successfully used terrain and weapon distribution to balance the two teams and reinforce asymmetrical gameplay. Our use of Trello improved team coordination and made task tracking clearer. We also maintained consistent communication during iteration, helping us adapt quickly to design changes.
What Went Wrong / Challenges:
A limited number of controllers made testing difficult, especially when verifying whether input settings for multiple players were configured correctly. Integrating the opening cut scene, the firing range, and the main level proved challenging, as we had to determine how to trigger them in the correct sequence.
What I Learned / Next Steps:
Designing an asymmetrical map is more challenging than expected; beyond terrain adjustments, balance can also be achieved through pacing, objectives, or resource placement. Testing with strangers is crucial, as many mechanics are only obvious to the developers who see the project every day. Moving forward, we should establish clearer testing pipelines and diversify our playtesters to uncover issues earlier.